Showing posts with label homemade. Show all posts

Saturday, September 29, 2012

Homemade Egg Rolls

Pin It

You know how you can do nothing but crave a certain type of food for weeks or even months at a time?!  Well, I've been craving nothing but Chinese so much that my DH doesn't want to have Chinese on our lunch dates anymore. :(  I was thrilled to see that Costco started selling some egg rolls in their stores!  But, with a family of 6, an 18 count box doesn't last very long!

Decided that I would venture out and make some of my own, why not, right?  I even ventured to make my own sweet & sour sauce to go with these versus paying $2+ for a bottle that would not last long at all! lol  I still do want to try to make my own egg roll wrappers....another time perhaps!  (I just wanna say that I've done it before!~)  The recipe is adapted from For the Love of Cooking.

Ingredients:
splash of oil
1 16 oz package of coleslaw mix
3 baby carrots shredded
1/2 cup diced onions
1 tsp powdered ginger
2 tbs soy sauce
1 tbs corn starch
1/4 cup water
15 egg roll wraps
1 egg beaten 
oil for frying

In a large saucepan, saute the coleslaw mix, carrots, and onions until softened.  If needed, add just a splash of water, if it's too dry.  Once cooked down, add the ginger and soy sauce and let simmer just a bit.  Once you have taste tested and approved the flavor and the texture of the veggies, in another small glass, mix well the corn starch and water, and pour onto the veggies and stir.  Immediately,  there should not be any liquid in the saucepan.  Let cool some.


Meanwhile lay out an egg roll wrap diagonally, apply some of the beaten egg on your finger or brush and smear on the top 3/4 of the wrap.  In the middle portion about a spoonful (about 2 tbs) of the veggies on the wrap.  Fold in the sides, then roll up from the bottom up.  The egg sealant will seal the wrap from separating while cooking.


Preheat a skillet of oil on about medium/medium-low, or it will splatter.  Gently place a folded egg roll in the oil and cook about 2-3 minutes per a side, or until golden brown.  Cool on paper towels.  Serve with sweet and sour sauce.  Recipe

Saturday, September 22, 2012

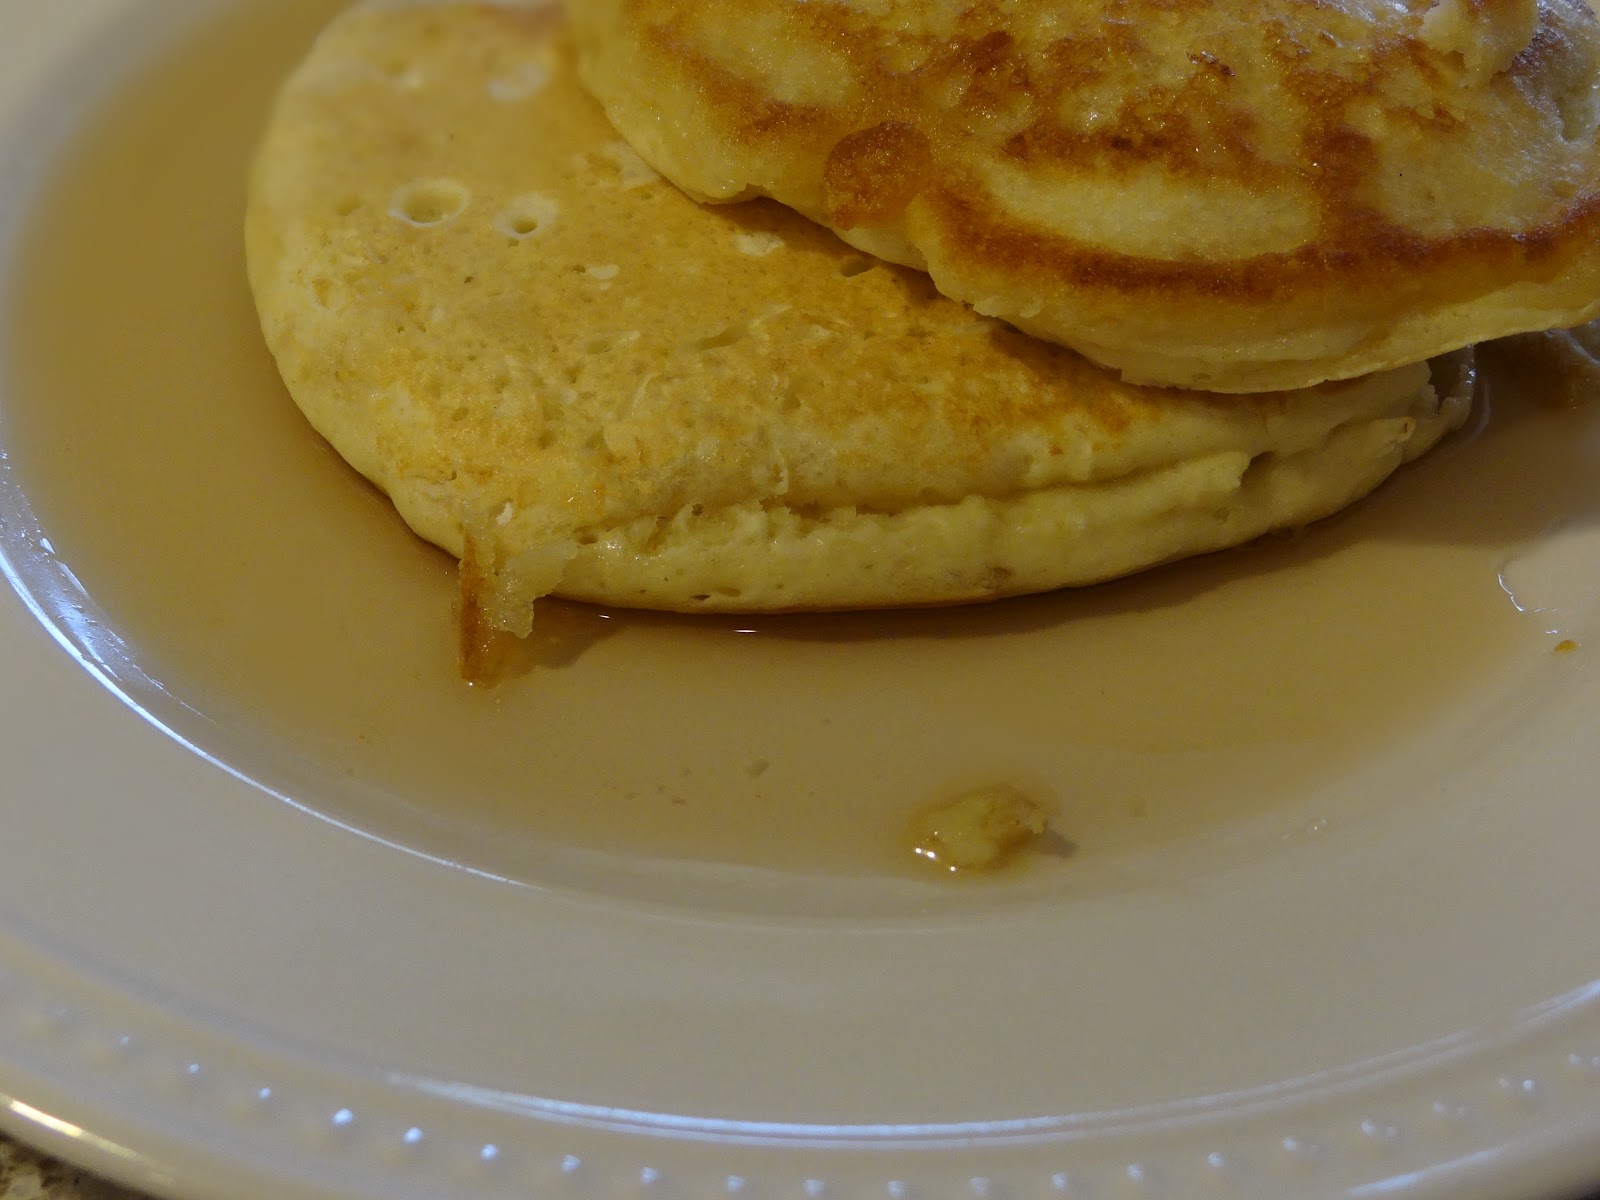
Homemade Pancake Syrup

Pin It

Several years ago, I realized what was needed to make my own syrup for pancakes.  Even though it's been a while since I last made a batch, it melted the hearts of my boys all the same, "Mmmmmmm."

Ingredients:
1 cup boiling water
2 cups sugar
1/2 tsp maple extract

In a medium size bowl, boil the water.  It must be really hot, or it won't work.  Pour in the sugar, and stir until clear, about 2 minutes (reminds me of making Jello!)  Then, add the maple extract & stir until well combined.  Serve over your favorite pancakes or waffles.


Thursday, August 23, 2012

Moist Chocolate Sheet Cake

Pin It

After school I gave two of my boys a choice of three different goodies to make for them...it was one of those kind of days a momma has to cheer up her kiddos.  They chose this chocolate sheet cake.  It is very moist and delicious!  One of my older boys said that he had to get a glass of milk to go with the cake.  That all the "good" chocolate cakes require milk to go with it.  All he could say once he had a bite was, "MMMMMMMMM."  (He is one of my picky eaters when it comes to chocolate cake.) lol  I packed a piece in their lunches with wax paper around it.  They all ate their cake on the way to school! That's one way to keep the other kids from wanting some!!! lol

The recipe is adapted from The Pioneer Woman.  I was impressed with how quickly it all seemed to be put together.  I love that the frosting doesn't taste like powdered sugar.

Ingredients:
2 sticks butter
4 tbs heaping cocoa
1 cup water
2 cups flour
2 cups sugar
1/4 tsp salt
1/2 cup milk
1/2 tsp lemon juice
2 eggs beaten
1 tsp baking soda
1 tsp vanilla

Preheat oven to 350 degrees.  In a medium saucepan, bring to boil butter, cocoa, and water, stirring well.  Boil for 30 seconds and remove from heat.

In a large mixing bowl, add the flour, sugar, and salt.  Pour the chocolate sauce into the bowl and mix well.  Try to get as much of the flour lumps out as much as possible.

In another small bowl, mix together the milk, lemon juice, beaten eggs, baking soda, and vanilla.  The chocolate mixture should be cool to the touch by now.  Add the liquid and mix well.

Spray an 18x13 sheet cake pan with a nonstick cooking spray.  Pour the batter into the pan, spreading it out as evenly as possible.  Bake for about 20-25 minutes, test with a toothpick for doneness.

While the cake is baking, you can prepare the frosting.  


Frosting:
3/4 cup butter
3 tbs cocoa
2 1/2 cups powdered sugar
3 tbs milk
1 tsp vanilla

In a saucepan (I reused the same to make the batter), melt the butter and cocoa.  Remove from heat.  Gradually, add the powdered sugar, milk and vanilla, stirring well between intervals to get to a smooth consistency.  

After the cake has cooled for about 5 minutes, spread the frosting on the cake.  The frosting will harden as it cools on the cake.  Garnish with sprinkles or chopped nuts.

Sunday, July 15, 2012

BBQ Chicken Pizza

Pin It

As hesitant as DH was to me making this pizza, I.loved.it!  I think my favorite part of it was the cilantro added as a garnish on the BBQ Chicken Pizza.  (I love cilantro in the first place...just was not sure how it would be with BBQ.)  I really didn't want to open up a jar of marinara for the pizzas made tonight, but ended up anyways for variety---just in case not everyone in the family liked it.  However, there were only a couple slices of this for leftovers.  The recipe is adapted from Food.com.


Ingredients:
pizza dough or homemade
1/4 - 1/2 cup honey BBQ sauce
1-2 cups shredded mozzarella cheese
cooked chicken thinly sliced
cilantro chopped (optional)

Directions:
Preheat oven to 450 degrees, or as prescribed on the packaging for the pizza dough.  Coat the pizza pan with a layer of canola oil, and spread the dough in the pan.  Smear the sauce on the dough and layer the pizza with the cheese and chicken.  (The chicken I used was cooked in a sweet BBQ sauce.)  Sprinkle additional cheese over the chicken, if preferred.

Bake for about 15-20 minutes.  When pizza is done, remove from oven, and sprinkle the pizza with cilantro as a garnish, if preferred.  

...Since I don't have a pizza pan, I used a 9x13 pan.  Once the pizza was done baking, I was able to transfer it to a cookie sheet to cut and serve easier.

...If you are using plain chicken, toss lightly in some BBQ sauce before placing on pizza.


Saturday, July 14, 2012

Bread Machine Pizza Dough

Pin It

Normally, my DH has always made the homemade pizza in our house.  But, I just found this recipe earlier this week.  He thought it tasted really good and "homemade," far better than the french bread pizza I made earlier this week.   Either way, it's a win-win!  The recipe is adapted from Salad in a Jar.  There were very little leftovers with my family of six; bummer!

Ingredients:
1 cup warm water
1 tsp sugar
1 tsp salt
4 tsp olive oil
2 tsp honey
3 cups flour
2 1/4 tsp yeast (1 pkg)

Directions:
In the bread machine, add the ingredients in order, and select the dough cycle option.  Once the dough has completed rising, punch it down to get rid of any air bubbles.  Meanwhile, preheat the oven to 450 degrees, and spray 2 9x13 pans or pizza pans with some canola oil. (I don't have a pizza pan; the 9x13 pan worked wonderfully.)

When ready, pull the dough out of the machine, and separate into two sections.  Roll out the dough to the desired shape.  If the dough is too elastic, let it rest a minute, and relax.  Place in desired pan, and spray dough with some more of the canola oil.  Then, apply a thin layer of sauce, cheese, and toppings.


Bake in oven for about 15-20 minutes, or more if too much sauce was applied to dough.  ( I checked mine at 10 minutes to check for doneness.)  Slice with a pizza cutter and serve.  (I did not have a problem taking the pizza out of the 9x13 pan and placing on a cookie sheet for easier cutting.)


Thursday, July 12, 2012

Homemade Cool Whip

Pin It

As a kid, I remember eating Cool Whip out of the container.  It tasted so good and was very addicting, especially when no one (I don't think, especially my mom) knew....I could be wrong...she never said anything! lol  After realizing all the different things I can make with heavy whipping cream, I searched to find how to make my own Cool Whip a few months ago.  Unfortunately, I can't remember who to give credit to for this recipe.

Ingredients:
2 cups heavy whipping cream
1/2 cup powdered sugar or more to taste
2 tsp vanilla

It is best to start off with cold beaters and mixing bowl.  I put mine in the freezer for a about 15 minutes before beginning.  Pour the cream into a medium size bowl and whip the heavy cream for about 3-5 minutes on high with mixer, until thick and peaks start forming.   I immediately stopped right before 5 minutes, as I didn't want to make butter!


Then, gently stir in the powdered sugar and vanilla.  It should resemble the texture of Cool Whip, light and fluffy.  The recipe yields about 3 cups.  I had enough (2 cups) called for a  recipe & some extra on the side to do something with for a different recipe.

Saturday, May 5, 2012

Crescent Roll Cinnamon Rolls

Pin It
(Look at my friend's photo using this recipe!  ((((gush!!!))) I love it!  To make her's, she use the whole recipe for the crescent rolls, & then cut into 1/2" sections, yielding 2 cake pans of yummy delicious cinnamon rolls!  Check out her blog, Simplify Mommyhood.)

After making another batch of dough from the homemade crescent rolls recipe yesterday, I was stuck with what to do with them!  I ended up making two batches of the Cinnamon Bars for a Cinco de Mayo celebration at my kid's school earlier this week with a batch of the dough, but I was originally planning to make 4 batches of the bars.  I felt like all I did last week was cook Mexican and did not want to make anything today!  But, when I saw this recipe from Iowa Girl Eats, I was instantly motivated to get back into the kitchen to "wow" my family!  She was right about making more than one batch of these suckers!  ...wow... they are sooo good!


The recipe was so awesome and quick!  I loved giving my untouched mini muffin pans something to do with this recipe!  The dough from the homemade crescent rolls could easily make 4 batches (about 48) miniature cinnamon roll bites.  I only made about 36 rolls.  I will use the other 1/4 loaf of dough for something else...maybe more cinnamon roll bites tomorrow????! 

Ingredients:
1/4 homemade crescent roll dough or 1 tube of refrigerated crescent rolls
2 tbs melted butter
1-2 tbs brown sugar
cinnamon/sugar mixture (1/4 cup sugar + 2 tsp cinnamon)

Directions:
Preheat oven to 375 degrees.  Spray your miniature muffin pans with a nonstick cooking spray.

Roll out the dough on a floured surface to about 9"x13".  Smear the butter over the dough (including the edges), sprinkle the brown sugar and cinnamon/sugar mixture over the butter.  Gently roll the dough up.  With kitchen shears, cut the dough into about 1/2" segments and place into the muffin pan.  This should yield you about 12 miniature cinnamon roll bites.

Bake in the oven for about 8 minutes.  Let cool on a plate and drizzle with your favorite icing.


Thursday, April 12, 2012

Homemade Velveeta Sauce

Pin It

In the grocery stores, Velveeta has gone up in price, anyone else notice?  Growing up, Velveeta was a staple in my house in the '80's.  I was curious, yet skeptical, if two ingredients would give me the same flavor and consistency as Velveeta would.  

The recipe is adapted from Listen to the Mrs.  I love how quick and easy this is to put together, as well as being frugal!  Great substitute to make for any recipe calling for Velveeta!  It's even good for like Cheez Whiz!  Thinking of my mom's Broccoli Cheese Rice Casserole right about now.... Or is anyone in the mood for some queso with this and some Rotel?!

Ingredients:
1/2 cup heavy cream
10 slices processed American cheese

Heat the cream and cheese together, stirring until cheese is melted and thick in a saucepan.  Or heat ingredients together in a bowl in the microwave for about 2 minutes.  Stir until nice and creamy.

When the cheese has cooled, it should "harden" just like the Velveeta does.


Wednesday, April 4, 2012

Crispy Chicken Fingers

Pin It

A few years ago, I became so disgusted with the over-priced frozen chicken fingers at the grocery stores.  Out of desperation, I decided to make my own, like at the restaurants.  To save money and make the chicken last longer, I serve these "precious beauties" on a bun and fill up the tummies for my four "baby birds!" lol  However, my Dear Husband loves to sample all the chicken pieces while I'm at the stove making these!  It makes me feel good to see him approve of "What's For Dinner?"  I also love that I know what the ingredients are in these!  It is a little time-consuming to make them, but sooo worth the wait!  My Dear Husband loves to eat these dipped into honey mustard!

Ingredients:
3 lbs boneless skinless chicken breasts, tenders, or bites
3 cups flour
1 1/2 tsp Italian seasoning
1 1/2 tsp chili powder
1 1/2 tsp garlic salt
1/2 tsp pepper
2 eggs
1 cup water or milk (add more as needed)
shortening


Directions:
In a large skillet, melt the shortening on medium heat.

In a mixing bowl, add the flour, Italian seasoning, chili powder, garlic salt, and pepper.  Mix well the ingredients.  In another bowl, add the eggs and milk or water and whisk well together.  Add more milk or water as needed.

My fingers get real "gummy" in this next phase...

A few pieces at a time, dip the flour into the flour, then the egg wash, and back into the flour mixture.  Once the oil is hot, but not too hot, place the floured chicken into the skillet.  The chicken should start frying immediately.  Fry the meat for about 7-10 minutes at a time, until golden brown.  I usually flip the meat over after about 3-4 minutes.  (You may need to adjust the temperature of the oil, be careful not to burn it.)  Continue cooking the rest of the chicken in batches.

When done, place let cool on a plate with paper towels.  Enjoy!

Saturday, March 17, 2012

Homemade Peanut Butter Bars

Pin It

Courtesy of BAKERLADY's post, I found these am-a-zing peanut butter bars!  My Dear Husband raved about how good they tasted!  ("Are you going to blog about these?!!!")  YAY!!!  They are very rich-tasting, in my opinion, but soooo good!  Quickly, I was able to put these together.  These remind me of Buckeyes, only easier!  I'm all for doing bars over individual balls of peanut butter and chocolate!  :) (My mom thinks I cheat by doing bars!)

Ingredients:
2 sticks melted butter
2 cups powdered sugar
2 cups finely ground graham cracker crumbs
1 cup peanut butter
1/4 cup peanut butter
1 1/2 cup chocolate chips

Directions:
Melt the butter in the microwave for about a minute.  Then, add the powdered sugar, mashing together as good as possible.  Then, mash-in the graham cracker crumbs and the 1 cup of the peanut butter, one at a time; it will be pretty stiff to stir together.  (Tasted good, but not too good lookin'. lol)

Spray a 9x13 pan with a nonstick cooking spray.  Press down evenly the graham cracker/peanut butter dough.

In another bowl, melt the chocolate chips and 1/4 cup peanut butter in the microwave for 1 minute.  Keep stirring until all the chocolate chips are melted, and is nice & creamy.

Pour over pressed crust the melted chocolate, covering the whole crust.  Refrigerate until hardened, about an hour.  Cut into bars.

Friday, February 17, 2012

Homemade Oxyclean

Pin It

Hearing how valuable, yet expensive, Oxyclean is to keep your whites white and get rid of stains, I opted for cheaper alternatives.  After doing some research, learning that the generic stuff has "fillers," I could make it myself!  What!!!???

It's easy.  The recipe is from Grocery Cart Challenge.

Ingredients:
1/2 cup washing soda
1/2 cup hydrogen peroxide

I use this for all my whites on the hottest water temperature setting.  I let soak for a few hours when used with my laundry soap.

Without the additional non-bleach whitener, your whites may become dingy.  Washing soda is from the same family as baking soda, just a stronger formula as it is heated to a higher temperature during the "making."

Friday, February 3, 2012

Homemade Twix Bars

Pin It

Twix Bars are one of my favorite chocolate candy bars.  When I saw this recipe on Hoosier Homemade a couple years back, I jumped on it!  Made it while my kiddos were at school....good for me, bad for them!  I got to make another batch for them later that day.   So, as I made this candy today, they were so very excited~!  (I get the hint, that I don't make these often enough!)

Ingredients:
48 Club crackers
1 stick margarine
1/3 cup milk
1/3 cup sugar
3/4 cup brown sugar
1 cup graham cracker crumbs
1 cup chocolate chips
2/3 cup peanut butter

Spray a 9x13 pan.  Align 24 crackers in the dish.


On the stove, melt the margarine, milk, sugars, and graham cracker crumbs.  Bring to boil over low/medium heat.  Boil for 5 minutes, stirring constantly.

Quickly pour over the crackers and spread about evenly. Then, gently press the remaining 24 crackers over the sauce.


Place in freezer until firm, about 5-10 minutes.

Meanwhile, melt the chocolate and peanut butter together in a small bowl in the microwave for about 1 minute.  Stir well.

Remove dish from freezer.  Spread peanut butter/chocolate over the 2nd layer of crackers.  Return to freezer for the chocolate to harden, about 10 minutes.


Remove from freezer.  Cut into bars and enjoy!  


Thursday, October 27, 2011

Swedish Meatballs

Pin It

Swedish Meatballs are one of my favorite foods that I grew up on.

Ingredients:
1 small diced onion
2 lbs hamburger meat
2 eggs
1 cup Italian bread crumbs homemade
2 cup cream of mushroom soup homemade (reserve 1/4 cup)

In a nonstick skillet, saute your diced onions.


When done, mix thoroughly the diced onions, hamburger meat, eggs, bread crumbs, and 1/4 cup cream of mushroom soup.

To make the meat drippings for the gravy, I cooked a few of the meatballs in the skillet, to be made later.

Preheat oven to 400 degrees.  Line a large jelly roll pan with foil and coat with oil to prevent sticking.  I've had better luck coating with oil versus a nonstick cooking spray.

With the rest of the meat, I portioned all onto prepared pan, using an ice cream scoop.


Bake for 25-30 minutes.  Remove from oven and let drain on paper towels.

To make the gravy, I removed all excess oil, but about a couple tablespoons, that was reserved from earlier.  I stirred a tablespoon of flour into the oil, then gradually stirred in the remaining 1 3/4 cup cream of mushroom soup.  Stir over medium heat, removing all lumps.  Bring to a boil.  Then, remove from heat.


Pour gravy over meatballs.  Serve with your favorite sides.

Wednesday, October 26, 2011

Homemade Hot Chocolate Mix

Pin It

We are on our second snowfall for October, right now, here in Colorado.  I thought it would be fitting to pull out my homemade hot chocolate recipe.  I did not have enough of the ingredients to make my ultra-large batch, but I thought I would it with what I had, and modified the portions.  It's been two years, since I last made some.  Last year, I got all my hot chocolate boxes free after coupons.  My boys raided all of those, and in no time, they were gone!  I think I need to add more powdered milk to my grocery list to make more.  It would also be nice to have a coffee maker for hot water only!  :)


Ingredients:
2/3 cup powdered milk
1/4 cup powdered sugar
2 tbs cocoa

Mix all ingredients together.  For each 1 cup of hot water, use 4 tbs (1/4 cup) of the mix; stir well.  This is not a very large batch.  I think I got 4 cups of hot chocolate out of it, great for Christmas gifts to teachers.
 
For a larger batches:
1 1/3 cups powdered milk
1/2 cup powdered sugar
1/4 cup cocoa

2 2/3 cups powdered milk
1 cup powdered sugar
1/2 cup cocoa

5 1/3 cups powdered milk
2 cups powdered sugar
1 cup cocoa

10 2/3 cups powdered milk
4 cups powdered sugar
2 cups cocoa

Saturday, September 17, 2011

Baked French Fries

Pin It

These baked french fries are one of my family's favorites.  I can make them so much cheaper than what I used to buy them for at the store, especially when I get the potatoes on sale.

Ingredients:
3-4 potatoes
1/4- 1/2 cup oil
chili powder
garlic salt

Rinse the potatoes well & slice.  I slice the potato in half, then again slice the potato about 1/4" thick.  Toss potatoes in some oil and place into microwave safe bowl and cover slightly, or place in microwave safe bag with ventilation.    I use the "Baked Potato" Button on my microwave, roughly 7-10 minutes.  This cuts down on baking time in the oven.

Preheat oven to 450 degrees.  Line jelly roll pan (or a pan with sides to prevent a mess in the oven) with foil.  Dab some oil onto a paper napkin or paper towel and smear over the foil.  You do not want the potatoes to stick to the foil.  Align the potatoes on the foil, careful to not overlap.  

Sprinkle potatoes with chili powder and garlic salt.  Bake for about 10 minutes, or until desired doneness, crispy on both sides.  Some in my family like them "burnt"/crispy.

Tuesday, August 23, 2011

Homemade Flour Tortilla Recipe In a Bread Machine

Pin It

The taste of these flour tortillas is amazing!  My boys love the flavor of these versus others I have made in the past.  There is NO lard in this recipe.   I doubled the recipe for a recipe I needed.  Try to roll them as thin as possible, as the baking powder will make them expand.  I rolled the rest in wax paper & stored in the fridge.  The leftovers tasted just fine, when I reheated them inside the wax paper.  They tasted very good.  (Note, the pictures are of the recipe doubled.  While the recipe is NOT doubled.)

This recipe is from Easy Frugal Living.

Ingredients:
3/4 cup warm milk
2 tsp veg oil
2 cups flour
1 1/2 tsp baking powder
2 tsp sugar
1 tsp salt


In the bread machine, use the dough cycle.  Apply all the wet ingredients first & then the dry.  

Let it keep mixing until a nice ball, add more flour or water if needed.


Allow the dough to rise for about 30 minutes, keeping the lid closed; do not turn off the machine.  When done, take dough out of machine & place on floured counter top.  Divide ball in half & in half, & in half & in half, until you have 8 sections.


Flatten each ball. Roll out ball from the middle out in one direction, dusting with flour to keep from sticking.  Turn 1/4. Roll again from the middle out in one direction. Turn 1/4. Continue in this manner, until you've reached the desired thickness, about 8" in diameter.

Place tortilla on a warmed dry skillet.

Heat until dough starts puffing up, a little & flip.  (I use tongs to do this.)  Cooking time is for about 3 minutes total, for the two sides.  While one is cooking, I am rolling out another. (Just remember to flip the tortilla on the stove while rolling out a new one.) By the time one tortilla is rolled out, the tortilla on the stove is done.  Keep tortillas warm until ready to use.  Store tortillas in fridge rolled in wax paper to reheat in microwave or aluminum foil to reheat in oven.  Makes 8 tortillas.

I've heard that a tortilla press makes the rolling out process easier....opinions?

I think these are best in a casserole vs rolled up as a burrito or a wrap....


Related Posts Plugin for WordPress, Blogger...